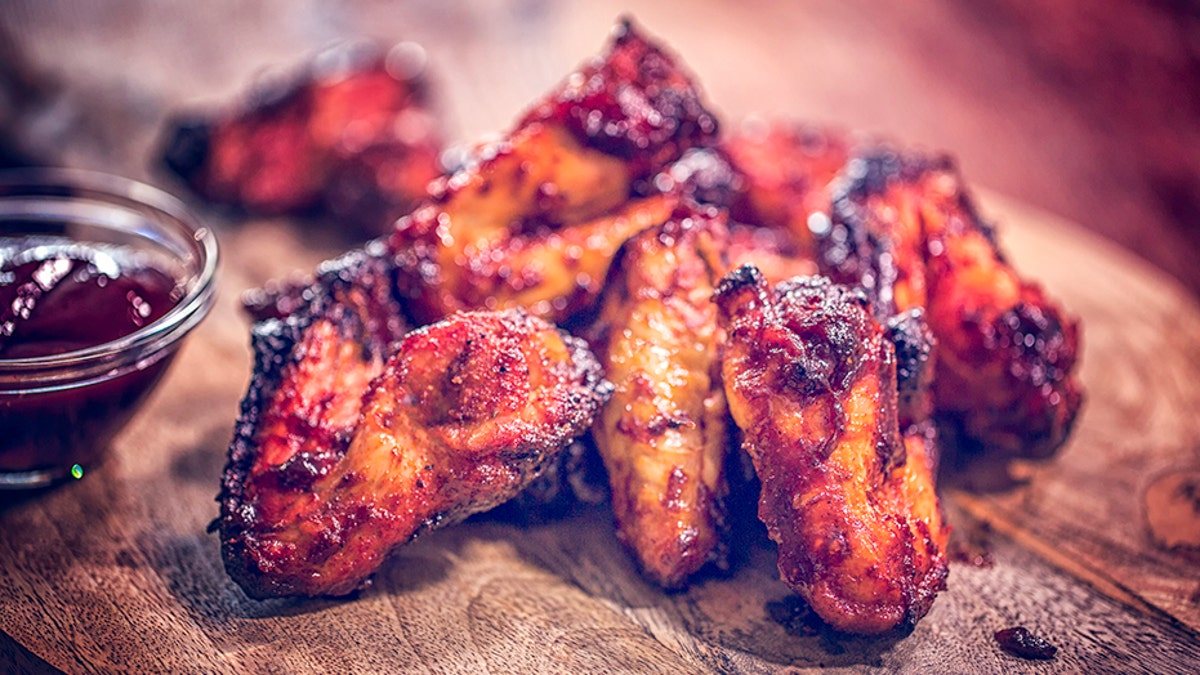
Make your own delicious wings at home with these tips. (iStock)
During my childhood, you could always count on there being a stash of chicken wings in the freezer. My mother had a tendency to buy chicken parts in bulk. She’d get a bag whenever we went to Costco or the local deli, and the result was a frozen surplus that could feed the family (or a small army) on any given night.
Since then, I’ve moved out, but my mom’s chicken-hoarding habits have stuck with me. Whenever I see a sale on wings (or drumsticks or thighs) I buy them in bulk and freeze them for later. Turns out, chicken wings make a foolproof dinner, and buying in bulk is a smart way to save money at the store. Thanks, Mom!
More from Taste of Home
My favorite way to enjoy a batch of chicken wings is to slather them in a rich, tasty BBQ sauce. It’s a surefire way to amp up the flavor (and hey-as long as there’s a few napkins around, who doesn’t love getting a little messy!) Have your own supply of chicken parts handy? Whether it’s legs, wings or thighs, learn how to turn chicken into a delicious dish quick.
How to Grill the Best Chicken Wings, Thighs or Legs
You’ll Need:
1 broiler/fryer chicken (3-1/2 to 4 pounds), cut up (or equivalent volume of your favorite chicken parts)
For the sauce:
- 1 garlic clove, minced
- 1 teaspoon butter
- 1/2 cup ketchup
- 1/8 cup packed brown sugar
- 1/8 cup chili sauce
- 1 tablespoon Worcestershire sauce
- 1/2 tablespoon celery seed
- 1/2 tablespoon prepared mustard
- 1/4 teaspoon salt
- 1 dash hot pepper sauce
Step 1: Make the sauce
When it comes to a crowd-pleasing chicken dish, the secret is in the sauce. (Using store-bought stuff? Skip to Step 2.) Begin by sauteing the minced garlic in butter in a large saucepan. Stir until it’s tender and fragrant. Next, add the remaining sauce ingredients. Bring the mixture to a boil, but don’t step away! Stir constantly, taking care it doesn’t burn. Then remove the pan from the heat and set aside for later.
Step 2: Clean and grease your grill grates
When it comes to grilled food, it’s best to start with a clean slate. Check to make sure the grill is free of stuck-on food before you begin. (The quickest way to clean a stainless steel grill is to turn up the heat to burn off the gunk, let it cool and then scrub it down with a sturdy wire brush. For thoroughly cleaning a gas grill, check the manufacturer’s directions.) Once clean, you’ll want to brush the grill rack with oil. If oiling a hot grill, moisten a paper towel with cooking oil and use long-handled tongs to carefully rub it over the grill rack.
Step 3: Get grilling
Bump the flame up to medium heat, place the chicken on the grill rack and cover. Grill for about 30 minutes, using tongs to turn the meat occasionally until it begins to turn golden brown. If using a charcoal grill, you can gauge the temperature by holding your hand 5 inches above the cooking grate. If you can keep it there comfortably for 5-7 seconds, it’s at medium heat.
Step 4: Baste
It’s time for your sauce to make its grand debut. Using a basting brush-or a spoon, in a pinch-spread the sauce all over the chicken. (This process is known as basting.) Turn each piece over and repeat. Continue to baste and turn the chicken for about 15 minutes longer. Sugary sauces tend to burn quickly, so keep a close eye for any sign of charring. Think it’s cooking too quick? Move the chicken to indirect heat.
It’s important to leave basting until the last 15 minutes of grilling. If you start adding the sauce too soon, you run the risk of burnt chicken. Don’t baste if the chicken still looks raw, since doing so runs the risk of transferring bacteria from uncooked to cooked chicken. To learn more about food safety, check out our tips on how to handle raw chicken.
Step 5: Check for doneness
The single safest way to ensure chicken is cooked to perfection is to check its internal temperature with an instant-read meat thermometer. Follow the cooking times below:
|
Type of Chicken |
Temperature |
| Boneless chicken breast | 165° |
| Bone-in chicken breast | 170° |
| Boneless thighs | 170° |
| Bone-in thighs or leg quarters | 170-175° |
| Cut-up mixed bone-in parts | Until the juices run clear |
Once chicken has reached the correct temperature, remove it from the grill.
Step 6: Dig in
Your crispy-on-the-outside, tender-on-the-inside BBQ chicken wings are ready to serve. Set them out on a platter and drizzle with more sauce if desired. I always find it refreshing to pair BBQ chicken with crunchy celery and carrots, and maybe a cool, creamy dip.


